

The Dirt on Dirt: hot composting
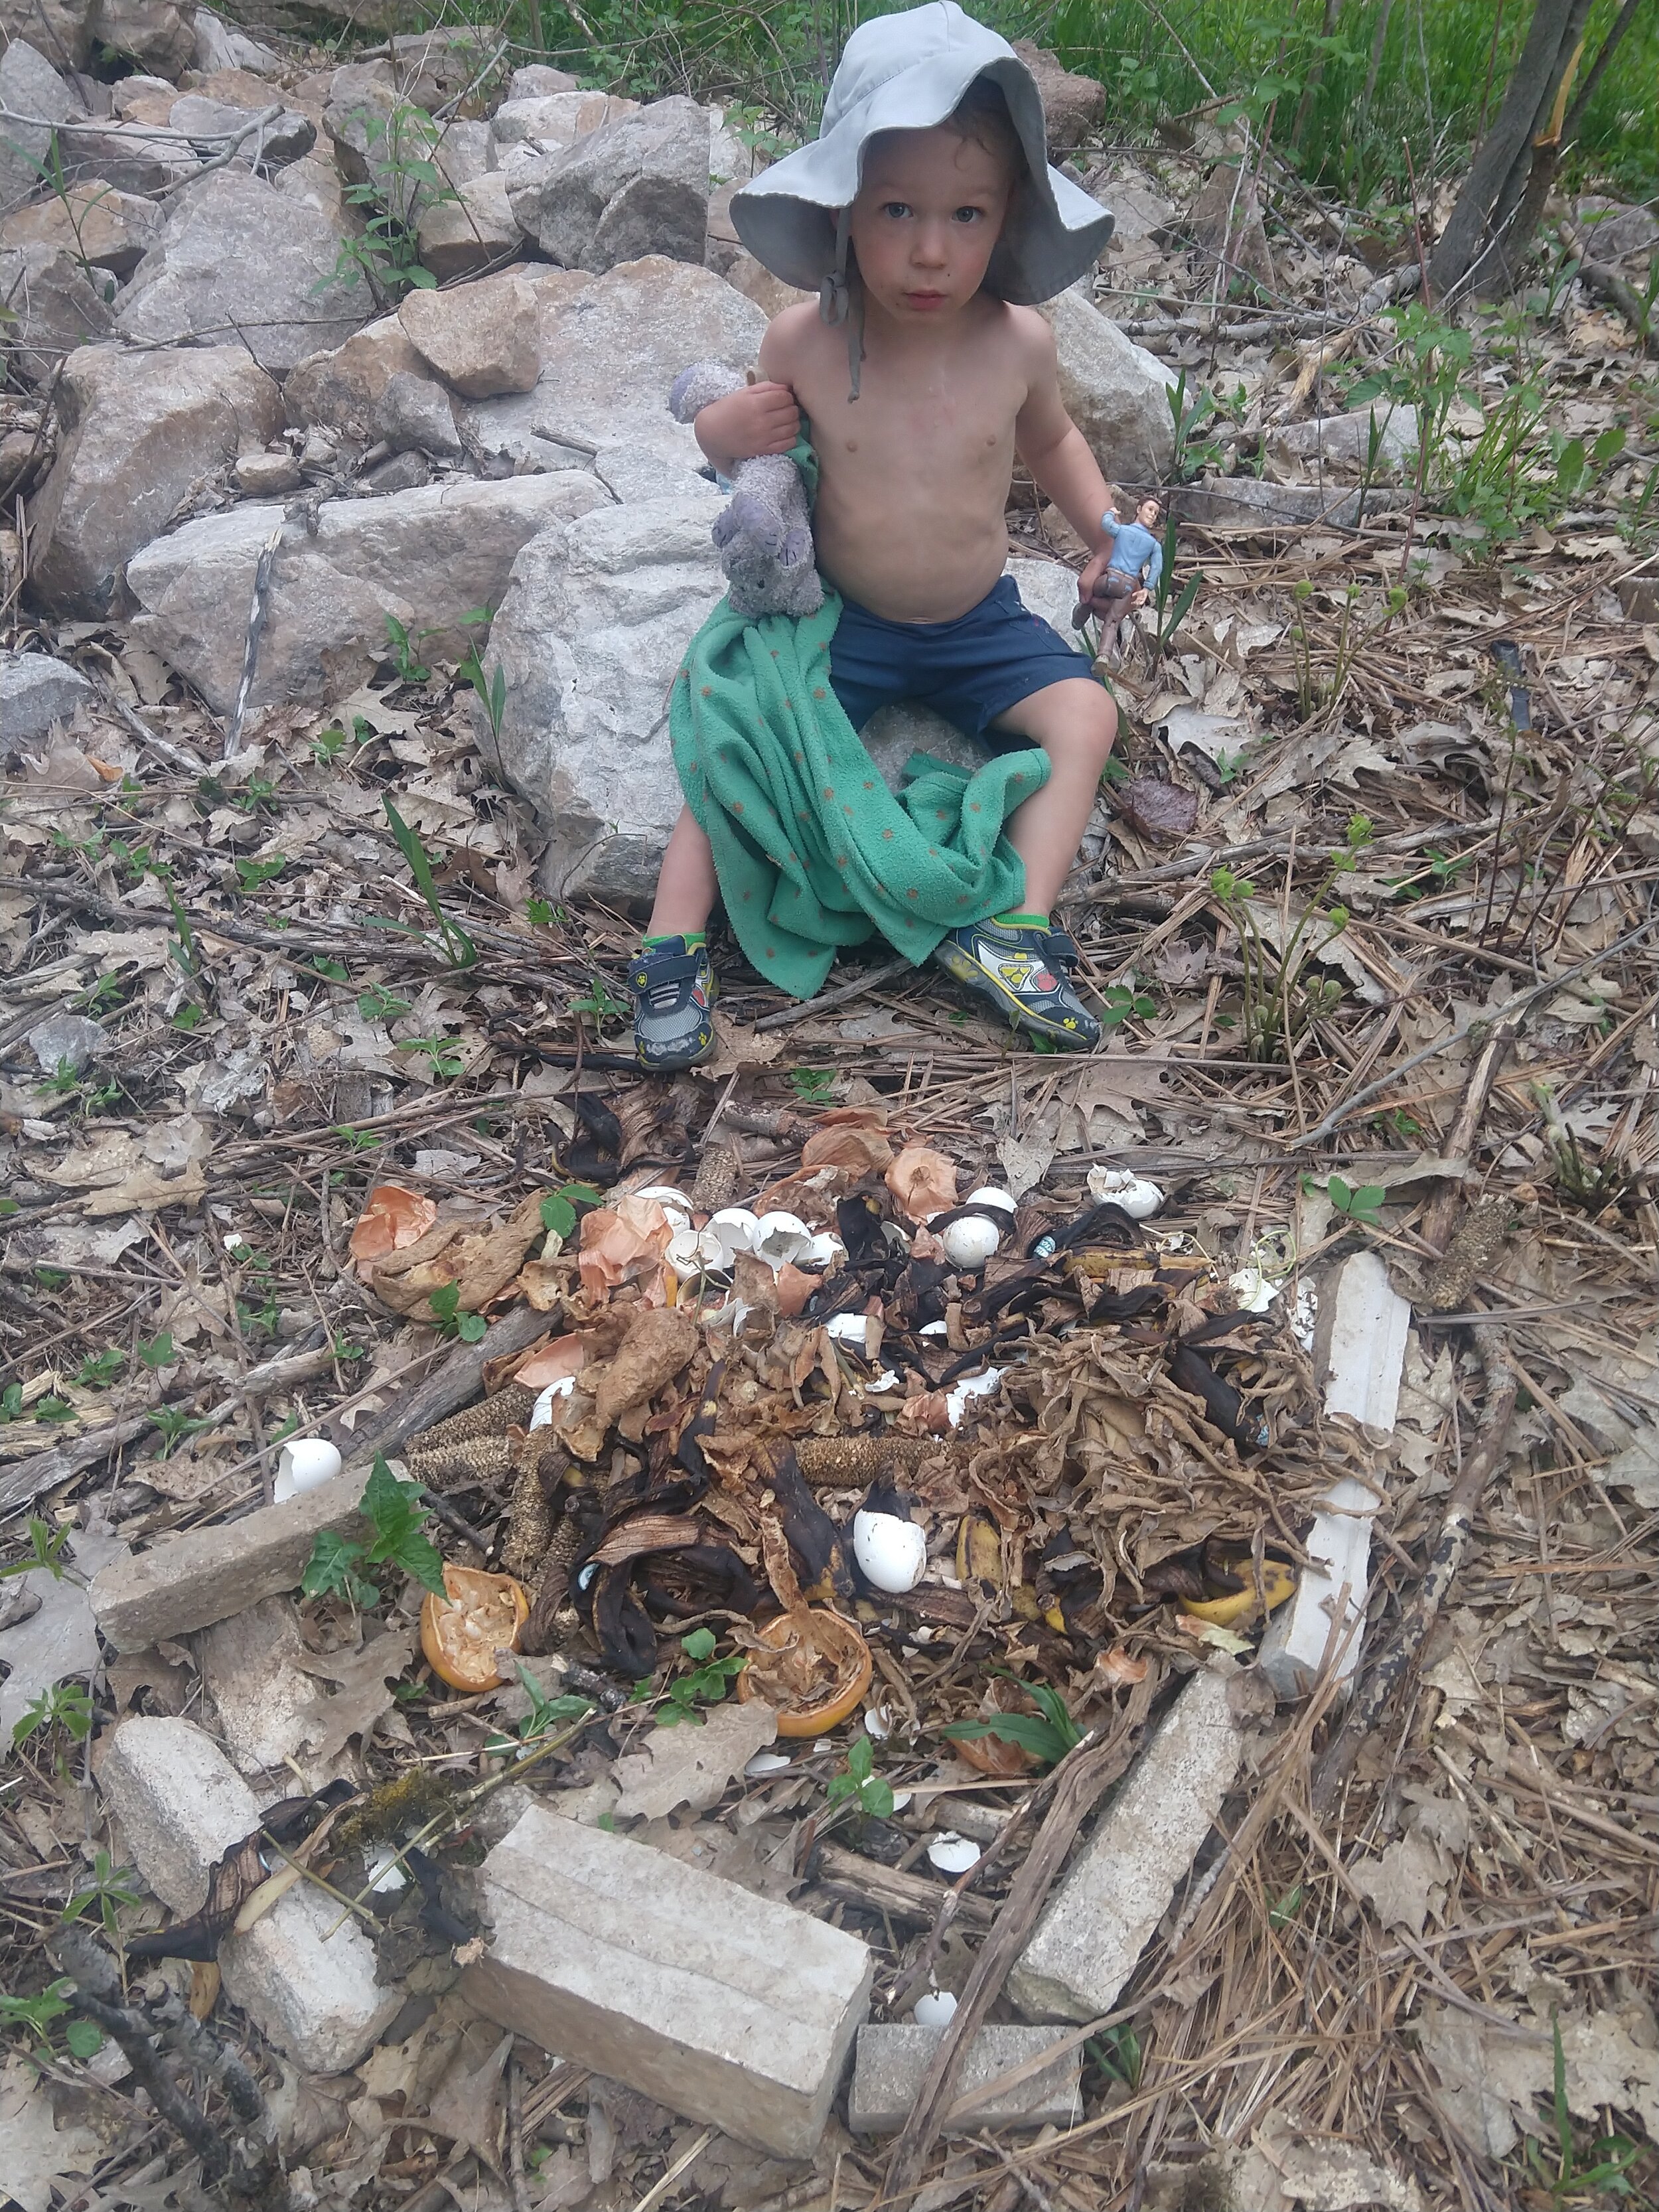
My daughter started her own “compost” pile, which sadly reminds me of my composting efforts years ago.
If you’re like me, you’ve had good intentions about composting, but never executed it PROPERLY. Yes, I collected all my food scraps, vegetable peels, and fruit cores. But then I just threw it in a pile and expected it to magically be transformed into a pile of dirt.
My husband, on the other hand, is so diligent about composting that we have a compost log! We even started collecting all the coffee grounds from church a few years ago. Explaining why we are carrying a five gallon bucket to and from church is always a fun conversation starter. (As if we don’t already have our hands full with toting around three young children and a diaper bag!)
Research first
My husband diligently researched composting several years ago and the Berkeley Hot Composting Method appealed to him for the following reasons:·
Fast
Kills seeds from weeds and pathogens
Fun exercise
Our first time using the method, we were amazed that most cherry pits broke down in just weeks – the magical compost method we were looking for!
But there are a few key rules to follow which I explain in the “recipe” below.
Neighbors helping neighbors

We collect our food scraps in our beloved red Folgers coffee canister and store in two 55-gallon drums until ready to make our hot compost twice a year.
The hot compost method requires a large pile (to hold in the heat) and uses a mix of browns and greens. We now started collecting our leaves every fall for this purpose. Our kids especially like one giant leaf pile. So imagine the excitement when we started asking our neighbors for their leaves! Our neighbors were happy to bring leaves over since our yard was a lot closer than the yard waste site.
Our beloved compost bucket
We started using ice cream buckets as our compost bucket to collect daily scraps to take outside. But one after one after another bucket broke (or should I say, “kicked the bucket”). So many broke that we couldn’t keep up with our ice cream consumption. Four years ago this dilemma was solved when a red plastic Folgers canister blew out of someone’s recycling can and caught my husband’s eye as he biked commuted home from work (which by the way he wouldn’t have spotted had he driven to work!). The wheels started turning and he snagged the container on his way home. The Folgers canister is so durable that we still have this container as well as the one I found in a ditch one day running (once again a find while commuting to work). We also like the other features: a lid AND built in handle to ergonomically grip (perfect when knocking the remnants out from the bottom). But my favorite feature is that when it gets nasty, I can just throw it in the dishwasher.

A full lineup of compost buckets!
My favorite story about the Folgers canister is when we were on vacation wandering the grocery store. Since no one in our household drinks coffee, my oldest perked up and said, “Look at all those compost buckets!” as we walked by a pallet of red Folgers coffee containers.
Compost season
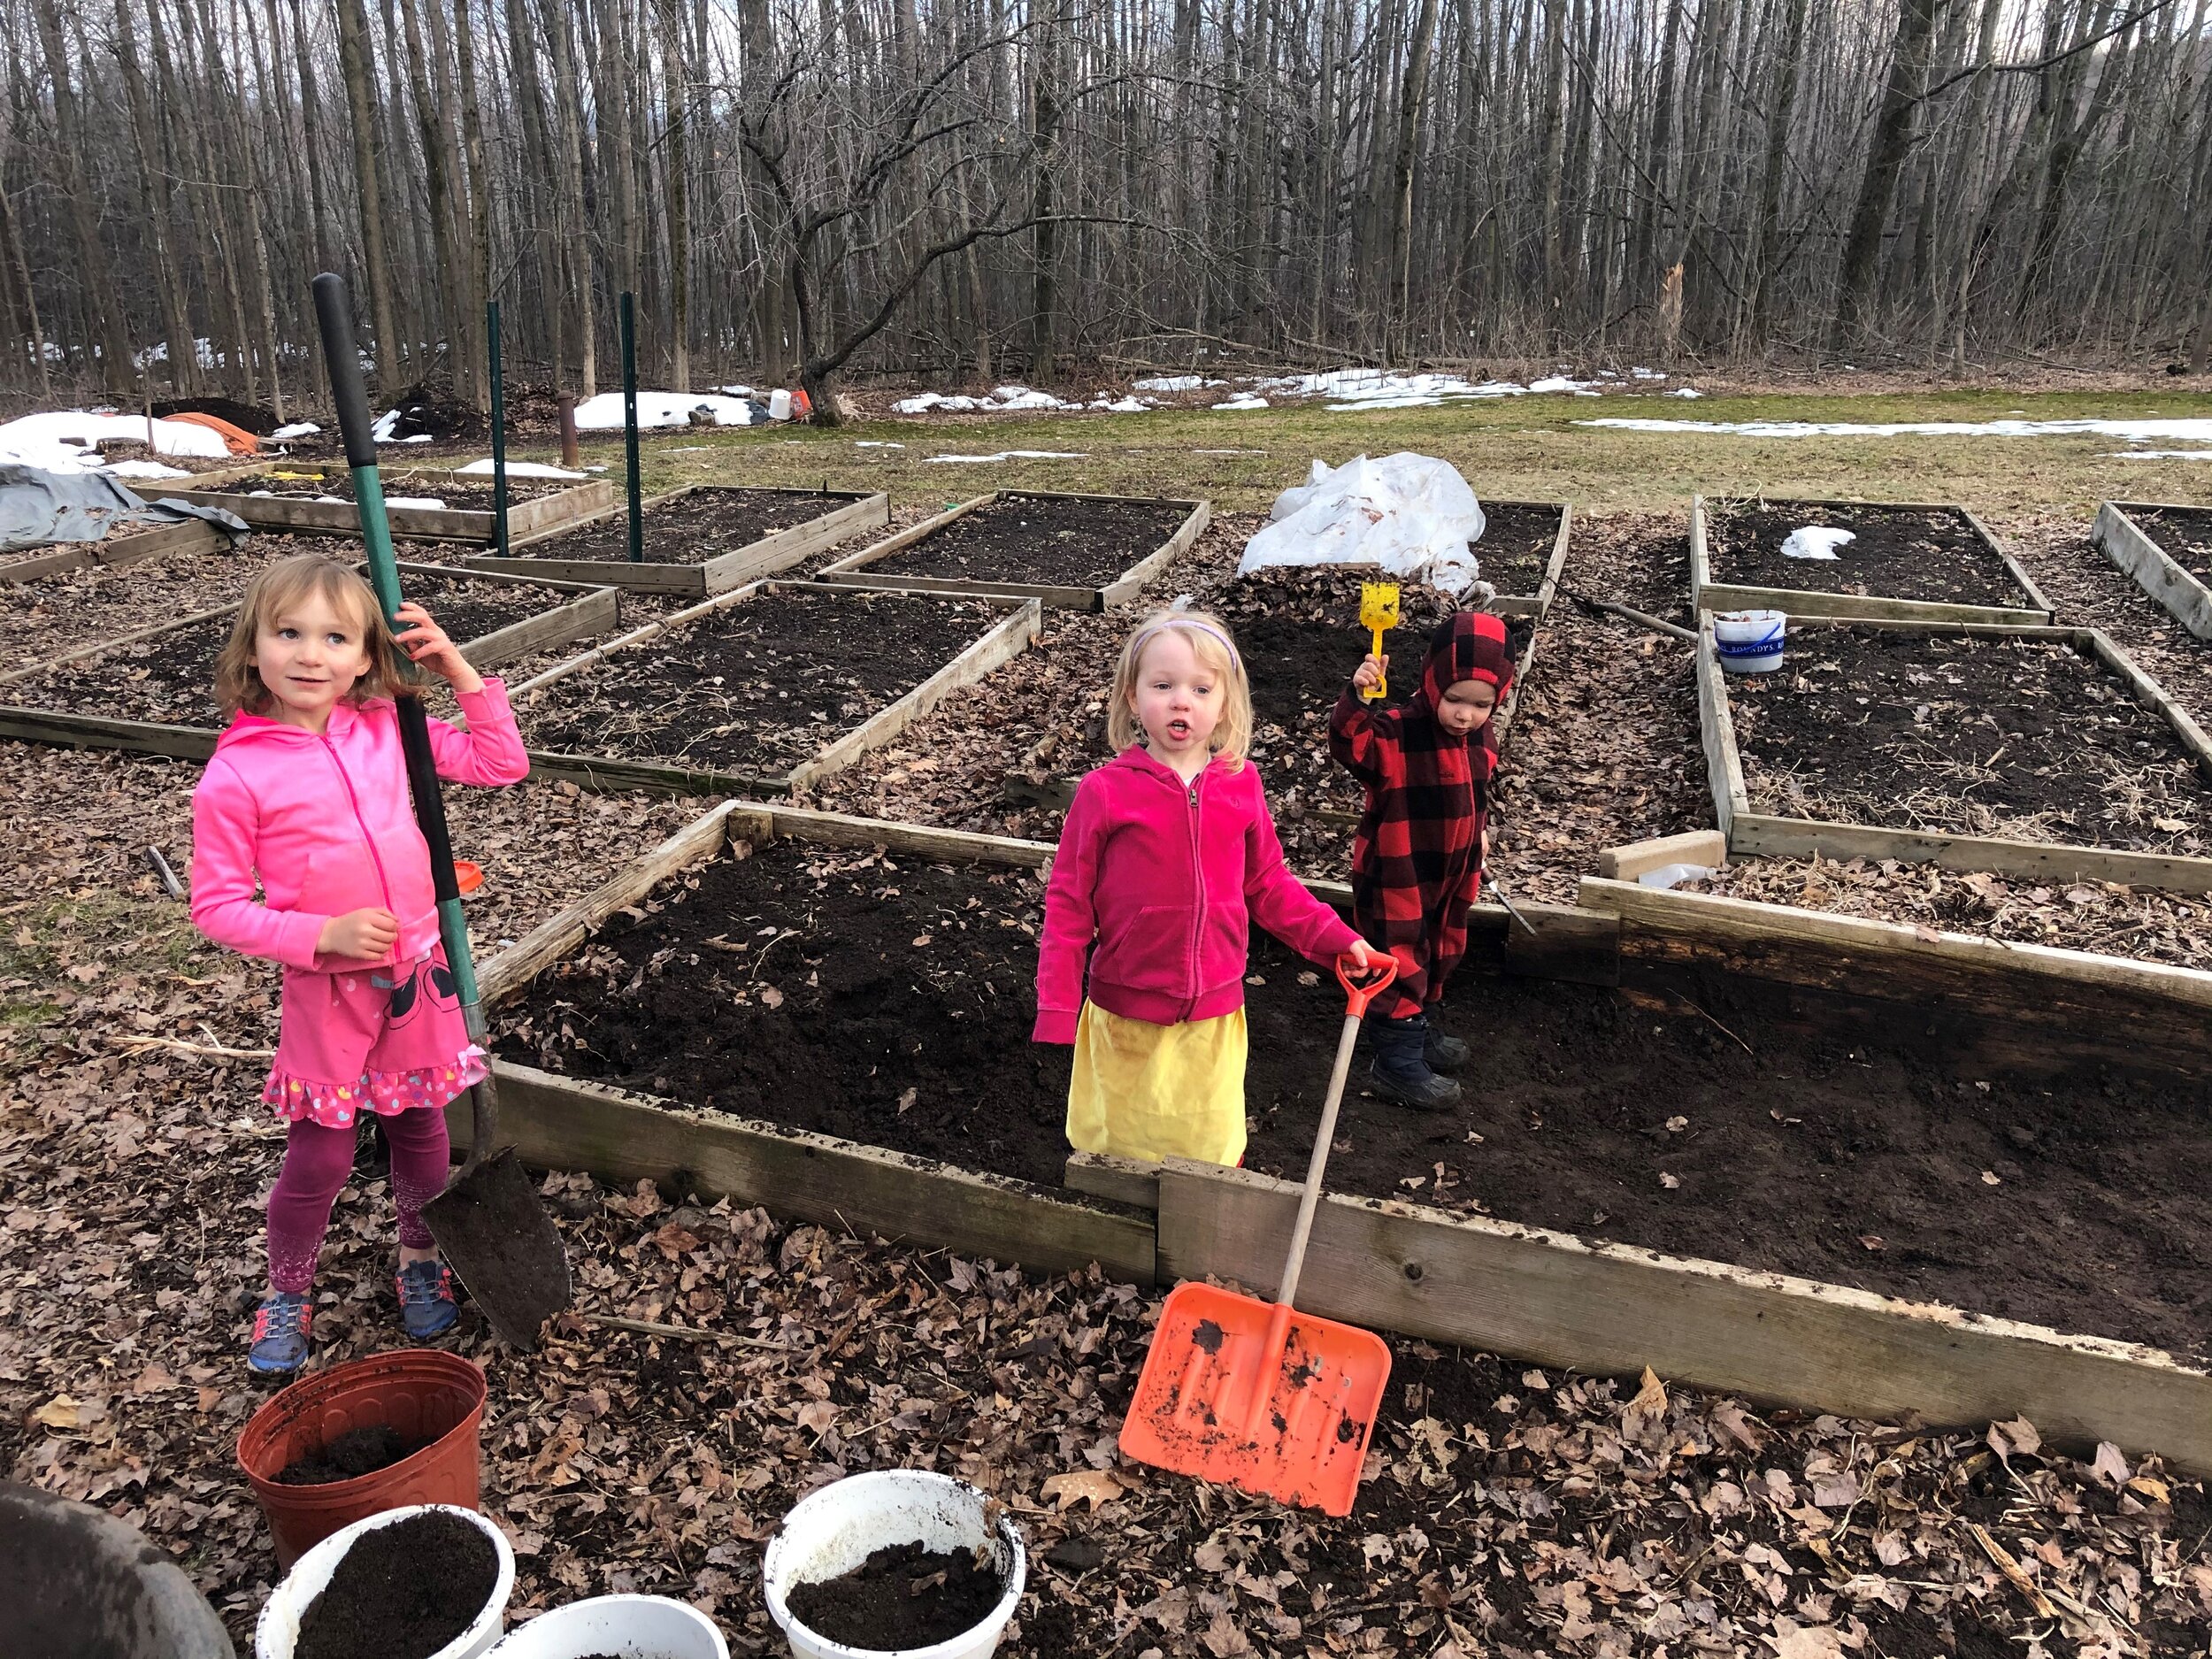
All our children enjoy playing in the dirt!
In order to maintain a warm temperature, you should start your compost pile when temperatures have warmed up (overnight low temperatures should be in the 50s or warmer). In Wisconsin, we can start a batch mid-May and do a second batch in early September each year. This means we need to collect our compost the rest of the year (we use two 55-gallon drums).
Let’s get started
Now don’t get intimidated, either. You don’t need to go so far as to log every detail of your composting. But you will need to flip it regularly. I’m going to share the “recipe” for our hot compost method below.
Hot Compost Recipe
2 parts browns (leaves)
1 part greens (food scraps, grass clippings)
Warm water
Pitch fork

Comparison of the “fine” and “coarse” compost final products.
Directions
1) Collect your greens and browns.
2) Select an area that has enough room for you to put your compost pile AND flip it. It’s best to have a shady area so all the moisture doesn’t evaporate. (You may also cover the pile with a tarp to retain moisture if it is located in a sunny area.)
3) Make at least five layers alternating browns and greens (browns – greens – browns – greens – browns. You want your pile to be at least 1 meter x 1 meter x 1 meter. Water the pile as you build each layer (preferably with warm water). A way to determine if you have the right amount of moisture is to put a handful of compost in your hand, and squeeze it. You should be able to squeeze out a few drops of water.
4) Use a pitch fork to flip the pile every two days for the first 20 days (this also counts as 30 minutes of exercise!). Transfer the compost on the outside to the inside.
5) You may keep adding new greens the first 7 days.
6) Reduce to flipping every 3-4 days for the remaining 2 weeks or when the compost is broken down.
It’s ok to use immediately but the compost will be coarse (but is higher in nutrients). You may also cover and wait a year if you prefer fine compost..

Ready for a workout!
Observations:
Touch: Expect temperatures 110-150F, or hotter, so be careful
Visual: You may see steam when flipping the pile. It is good to see a white fungus.
Smell: The compost should smell earthy.
So the experience includes exercise, fresh air, reduces your carbon footprint, AND encapsulates a science experiment! So get out there and get dirty!
Related posts