

DIY Yogurt
Years ago, I put yogurt-making on my list of winter family activities. On top of a good dose of probiotics, homemade yogurt would not have any additives or excess sugar. Upon purchasing a semi-industrial dehydrator, I thought 2020 was the year of yogurt-making. Finally at the tail end of 2021 our family has tackled the endeavor of homemade yogurt. I credit the $15 grocery bill for a week’s worth of Greek yogurt as the catalyst. (We’ve been buying more yogurt than ever after my husband started a higher protein diet and got on a fermented foods kick.)
Easy as pie
I had been intimidated about the process, but a friend assured me it was quite easy. Also we didn’t need any special equipment. I was a bit leery of making a “bad” batch and getting sick, but that’s near impossible to do as long as you sterilize / pasteurize everything. This even sounds complex but it’s as simple as steaming your containers and heating up the milk to 180F, washing your hands, and using clean spoons. Once we put the yogurt in the fridge, it halts the fermentation.
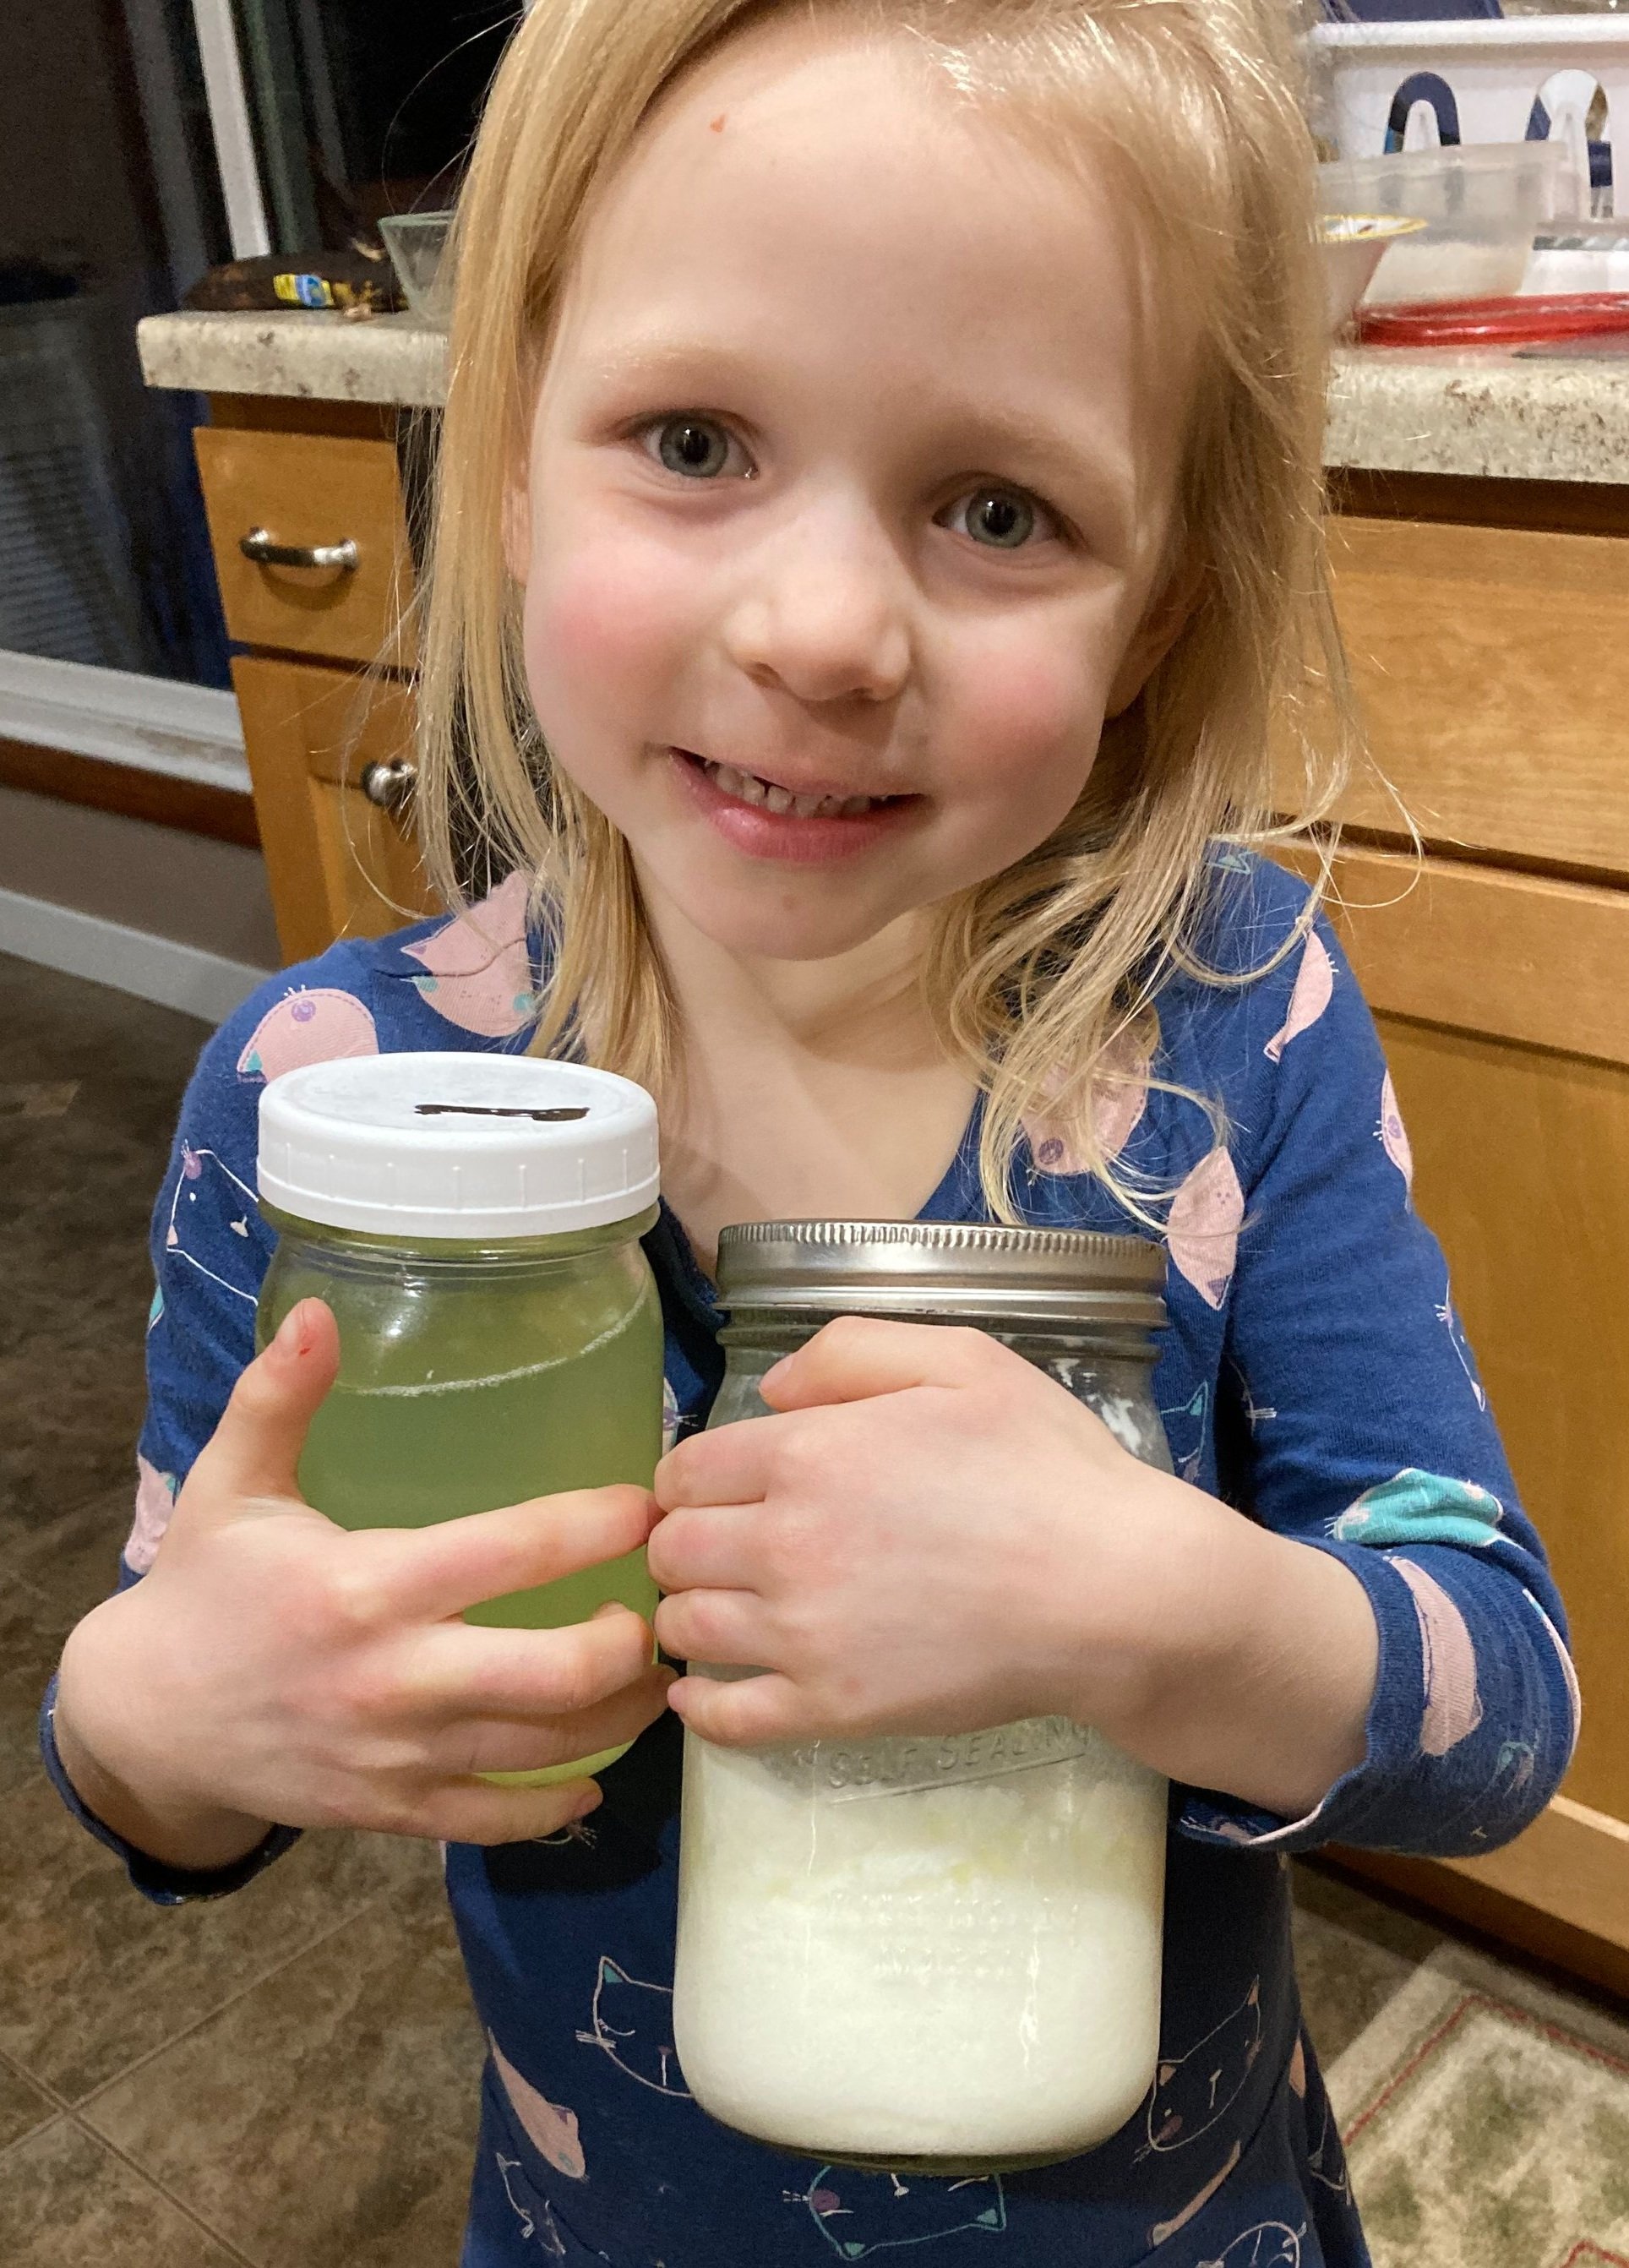
Whey (left) is a byproduct when making yogurt (right).

We all have fun mixing in blueberries!
Homemade yogurt may be enjoyed by those with a lactose sensitivity since the bacteria consumes most of the lactose sugars during the fermentation process. On top of virtually no sugar, the homemade version has zero additives.
Active cultures
There was anticipation leading up to the yogurt-making event after my husband ensured I would not prematurely open and contaminate the last container of yogurt in the fridge before the experiment. My husband chose a plain yogurt he liked from the grocery store with a mixture of difficult to pronounce bacteria names for his initial starter culture. And that is the key, as you’ll need to select a plain starter yogurt that contains active cultures.
Then after our batch of yogurt was ready, he immediately labelled a special jar of the freshly made batch for future cultures since he’s promising to do a batch a week. One interesting observation is that we decanted significantly more whey from our second batch of yogurt that used less concentrated solids as the active culture rather than Greek yogurt.
Since we consumed the entire first batch of yogurt (4 quarts) in 72 hours, the second batch came sooner than originally expected (not a bad problem!). This time the batch was ready mid-morning, perfect timing for a morning snack! I’ve never had fresh, warm yogurt. It reminded me a little bit of a baked custard dessert. The texture was still smooth but it had a little bit of curd feel when I chewed.
Whey better
Whey is a by-product of the fermentation process. The whey is nutritious and can be disguised in a variety of foods such as soup, casserole, smoothies, or oatmeal (which we did twice and no one including me noticed a difference). It can be used as a substitute for water or milk in many recipes. A small amount in our pancake batter resulted in extra fluffy pancakes. We may even use the whey for lacto-fermentation to make a batch of sauerkraut.
Instead of taking extra effort to strain out the whey with cheesecloth, we opted to decant the whey from the top of each jar as needed.
Engineering fun

Our eldest child announced the temperatures like an auctioneer. I was surprised how quickly the batch cooled once we turned off the stove.
You can use skim, 1%, 2%, or whole milk to make yogurt. In true engineering style, my husband labeled jars separately that used the 1% vs. skim milk so we could compare the end product. I didn’t notice a difference, especially when we added additional flavorings such as jam or blueberries. Next time, we may both try tasting blindfolded so we can say we did a “double blind study”!
As a chemical engineer, my husband took vigorous notes and even calculated the cost of each batch, including electricity for the dehydrator (3.5 kilowatts for 13 hours if you were curious). The final cost comes to about $0.50 more than your gallon of milk for a 4 quart batch or $0.20 per 6 ounce serving plus about 3 cups of whey byproduct.
Next up, ricotta or cottage cheese?
DIY Yogurt Recipe

We used our dehydrator to maintain the temperature around 110F during the fermentation process, but you can alternately wrap the jars in towels and place them in a well-insulated cooler to maintain the liquid temperature at 110F.
Although there are a variety of ways to make yogurt, we selected this method since it doesn’t create any extra dishes. We prefer using jars so we can easily put a lid on to store the end product. We prefer wide mouth jars since it’s easier to scoop the yogurt into our bowls (or eat directly out of) to enjoy.
1/2 cup plain uncontaminated yogurt
1 gallon milk
Select any plain yogurt with “active cultures” on the label. Note Greek is the best since whey is removed so it contains a higher concentration of bacteria.
Sterilize four wide mouth quart jars by placing them in a large covered pot with one inch of boiling water for one minute.
Place spoons and a whisk in the hot water for one minute to sterilize as well.
Pour milk into the jars.
Place the jars back into the pot with hot water until the milk reaches 180F for 30 seconds to pasteurize the milk.
Remove the jars from the heat and allow them to cool to 110-115F.
Use the sterilized spoon to add 2 tablespoons of active cultures per quart. Use the sterilized whisk to mix well. Place the lids on the jars loosely so gas can still escape during fermentation.
Maintain the liquid temperature at 110F for 8 to 24 hours, until the desired consistency and flavor is achieved. Be sure to only use sterile spoons (no double dipping!) for taste tasting. The longer the fermentation, the stronger flavor and more acidic the yogurt becomes.
Extract a half pint of yogurt (no whey) and place it into a sterile jar as your active culture for the next batch.
The active culture, whey, and yogurt keep for 7 to 10 days in the refrigerator. The whey will form a layer on top of the yogurt, you may decant, strain, or mix the whey back into the yogurt based on your preference.
Yield: Four quarts, roughly 3 cups of whey and 13 cups of yogurt
Related:
Cranberry sage gnocchi (for those cheeseheads!)